Create a grungy poster in GIMP in 100 clicks or so

A qick intro. GIMP is an exceptional graphical tool, in most cases, just as functional as Photoshop. With little exploration and creativity, it's possible to create almost any graphical design solely in GIMP. Internet is full of Photoshop tutorials, but there are not much tuts for GIMP. This isn't surprising since Photoshop is a commercial tool, which is the first choice of designers who want to pay and get what they pay for. I mean, time: usually it takes a little less time to create anything in Photoshop. In spite of that, for those who worked with GIMP and got used to it, it's clear that any Photoshop tutorial can be easily and with minimal side-effects translated to "GIMP patterns language". In this article I would like to demonstrate this and back my statement.
To prove this point, I first googled for some kick-ass tutorial for Photoshop, and found this great thing. From there it took me about an hour to remake a similar thing in GIMP. Below are the steps. If you're familiar more or less with the GIMP, you'll probably skip most of them. This is a very easy-to-do tutorial, so enjoy.
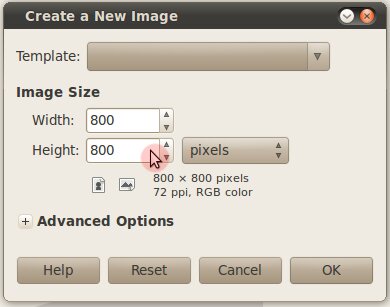
Start the GIMP, and create a new file. Set dimensions to 800x800.

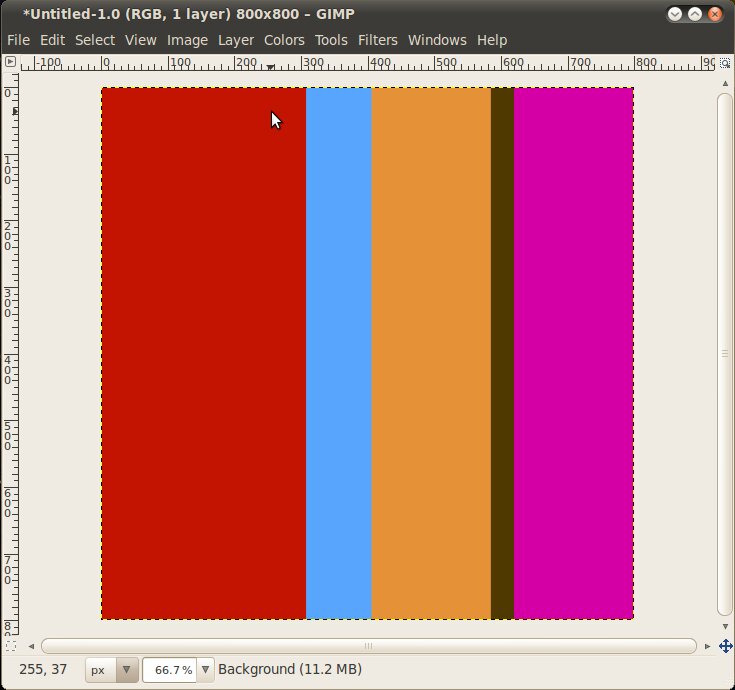
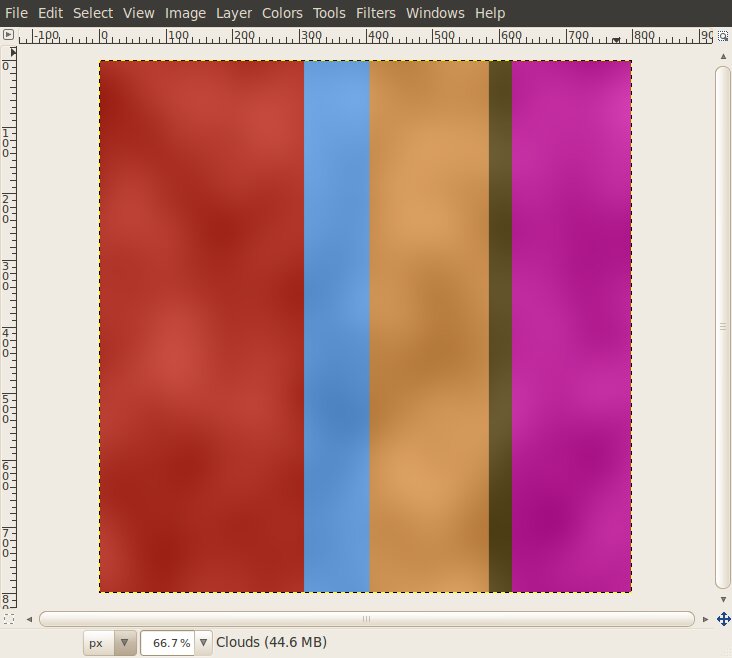
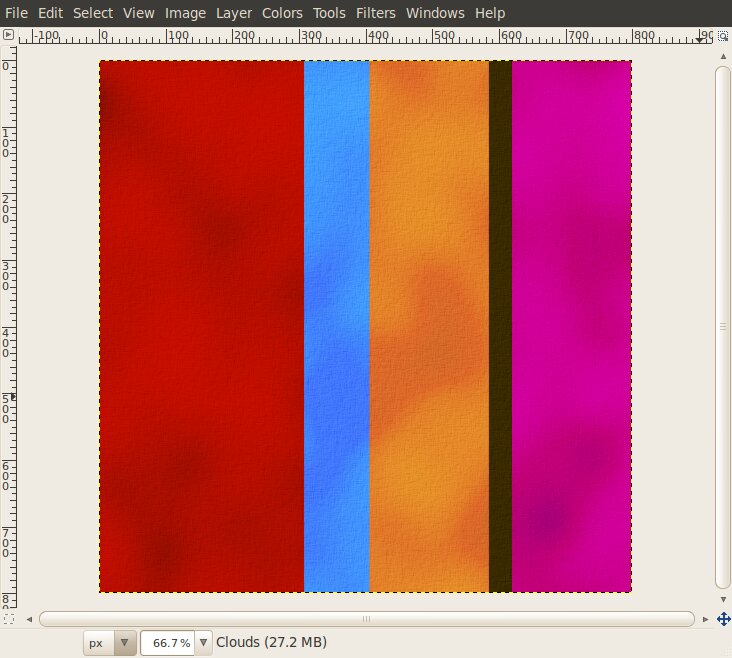
Using the Rectangle Select Tool (R) and the Bucket Fill Tool (Shift+B) (you can use the color picker to get the colors) create something like this:
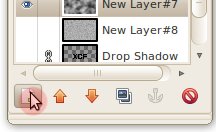
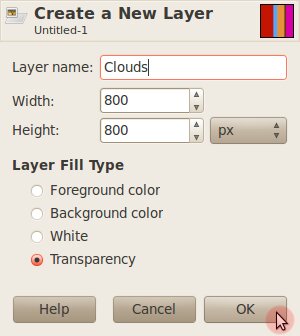
Create a new layer, and name it "Clouds".

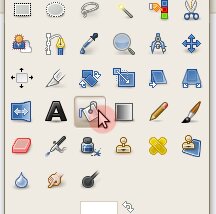
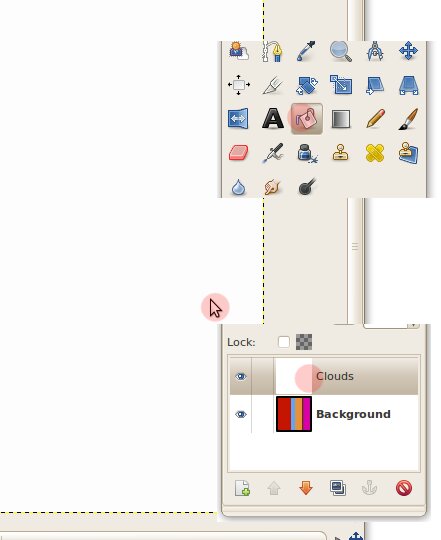
Fill it with white color using the Bucket Fill Tool (Shift+B)
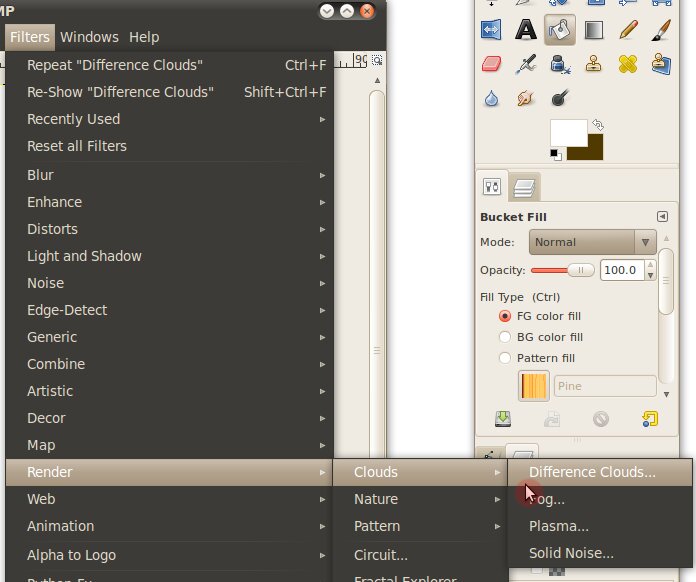
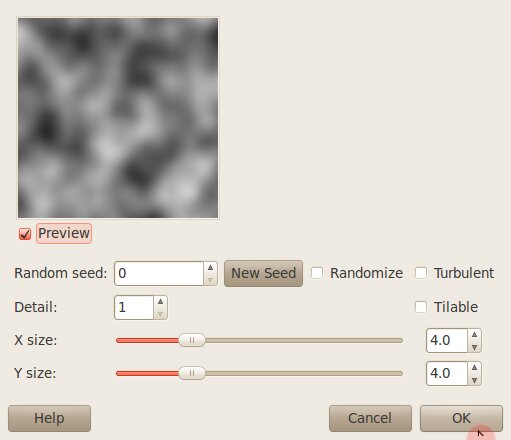
Go to Filters > Render > Clouds > Difference Clouds..., set the options as below, and click OK

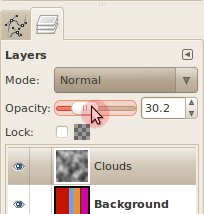
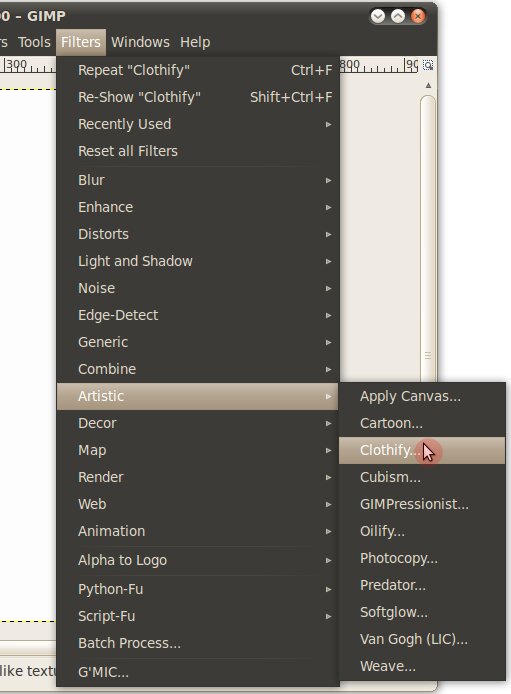
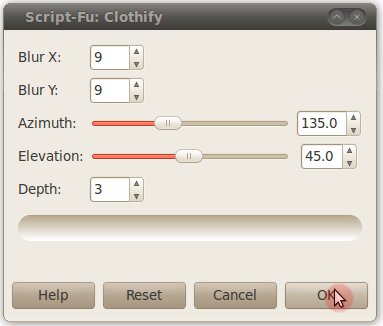
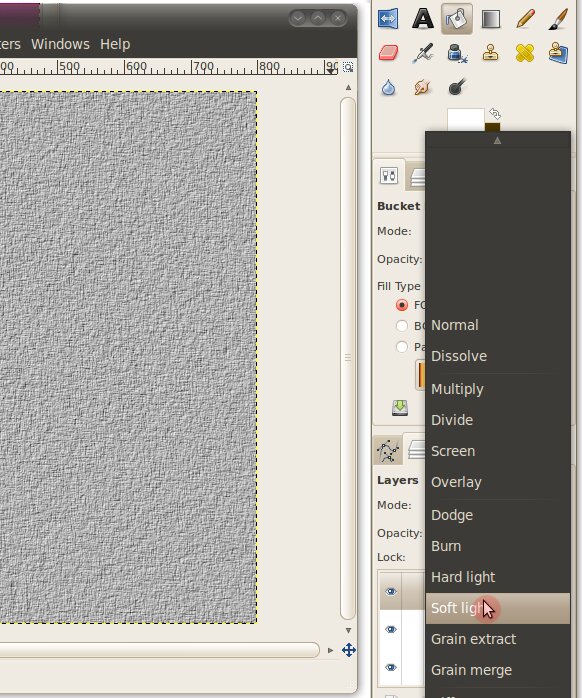
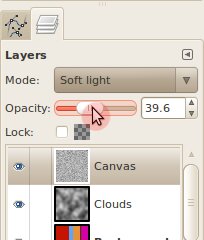
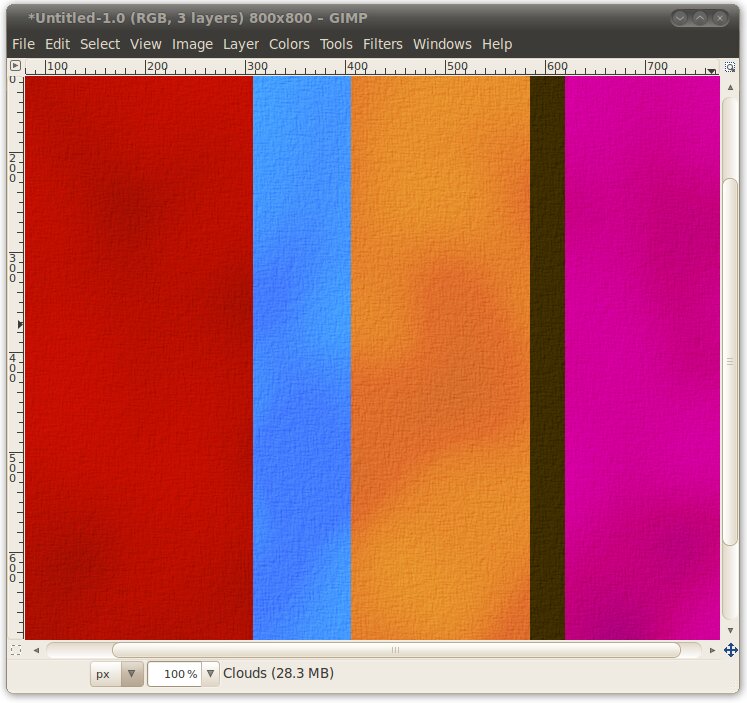
To make a nice canvas, first create a new layer and fill it with white color. Then go to Filter > Artistic > Clothify..., set the parameters like in the following images and click OK. Then click the Clouds layer (or how you called it?) switch the "Mode" to Soft Light and set the Opacity to 40.
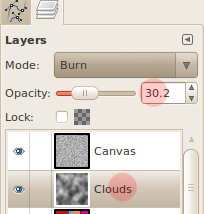
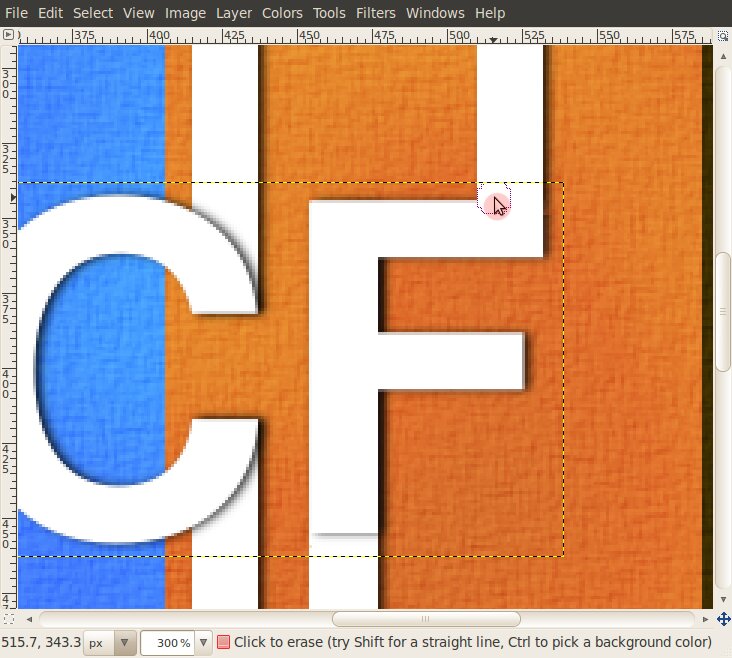
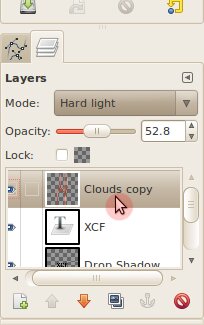
Now let's fix the Mode and Opacity of the Clouds:
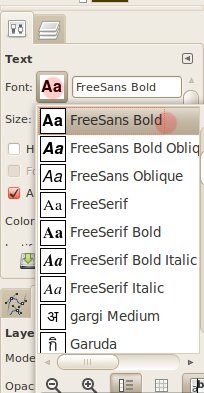
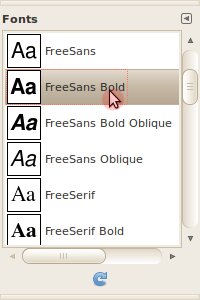
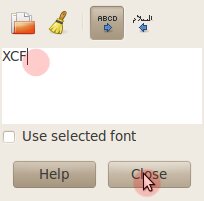
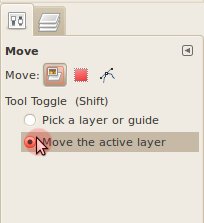
Next, let's add some typography. Click on the Text Tool or press T, choose your favorite font, and type XCF. Close the Text Tool box, select the Move Tool (M) and place the text in the middle. In the Move Tool's properties you might need to select Move the active layer option.
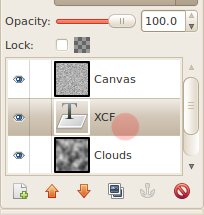
Move the XCF layer above Canvas by dragging it.
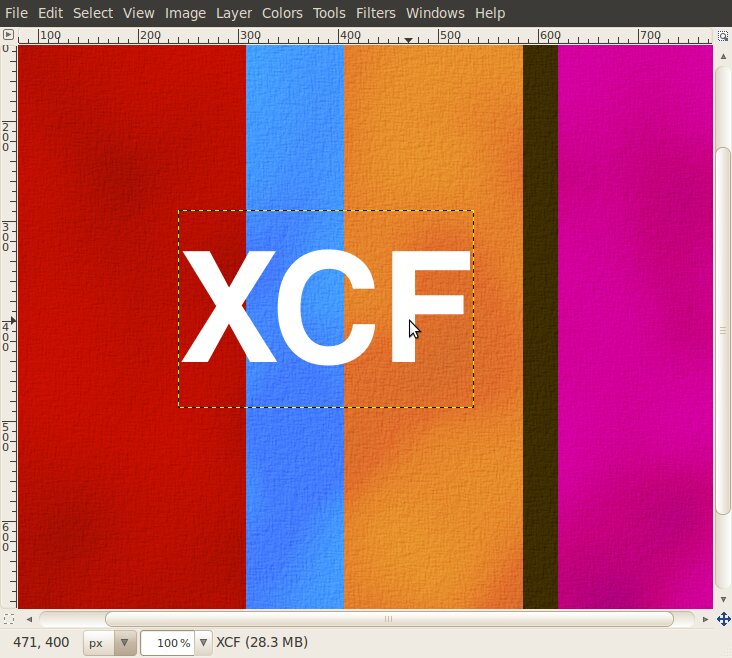
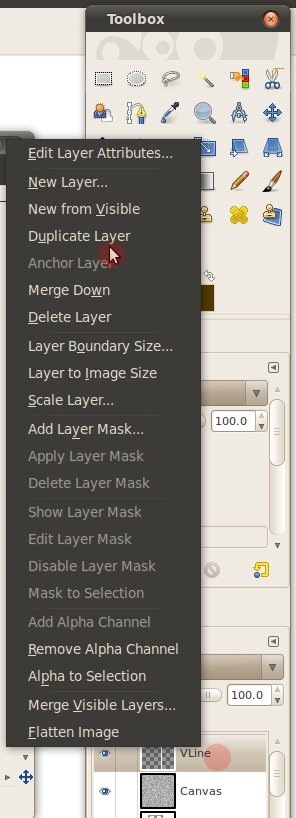
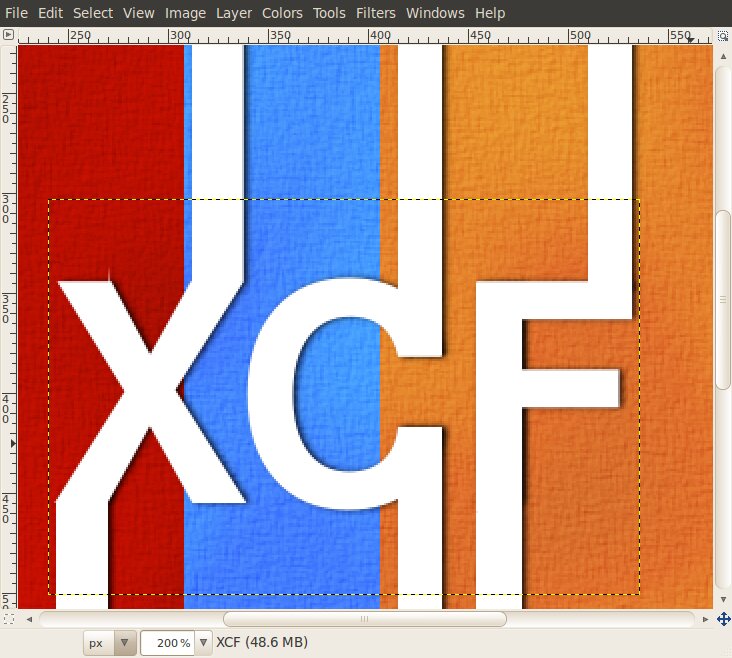
Now, using the Rectangle Select Tool (R) and the Bucket Fill Tool (Shift+B) as previously, draw white strip over the XCF letters. You can duplicate the strips layers by right-clicking them and selecting Duplicate Layer
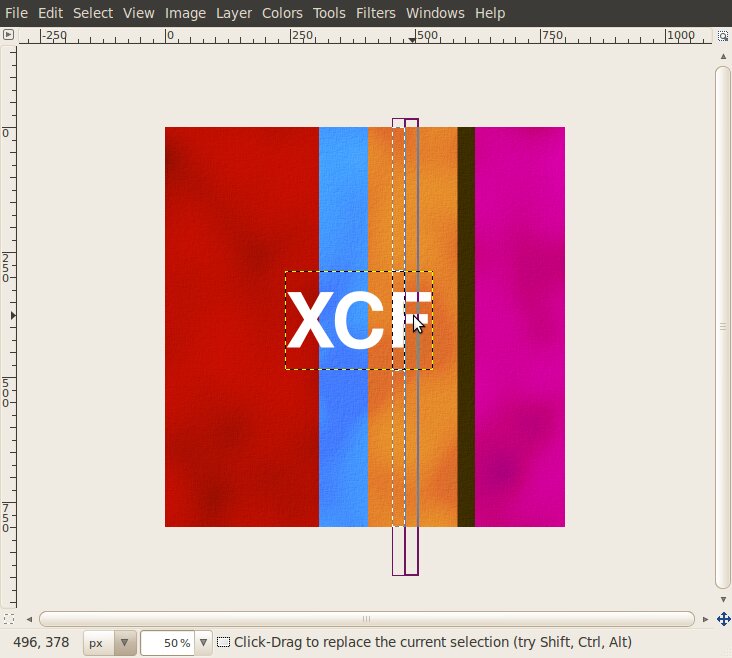
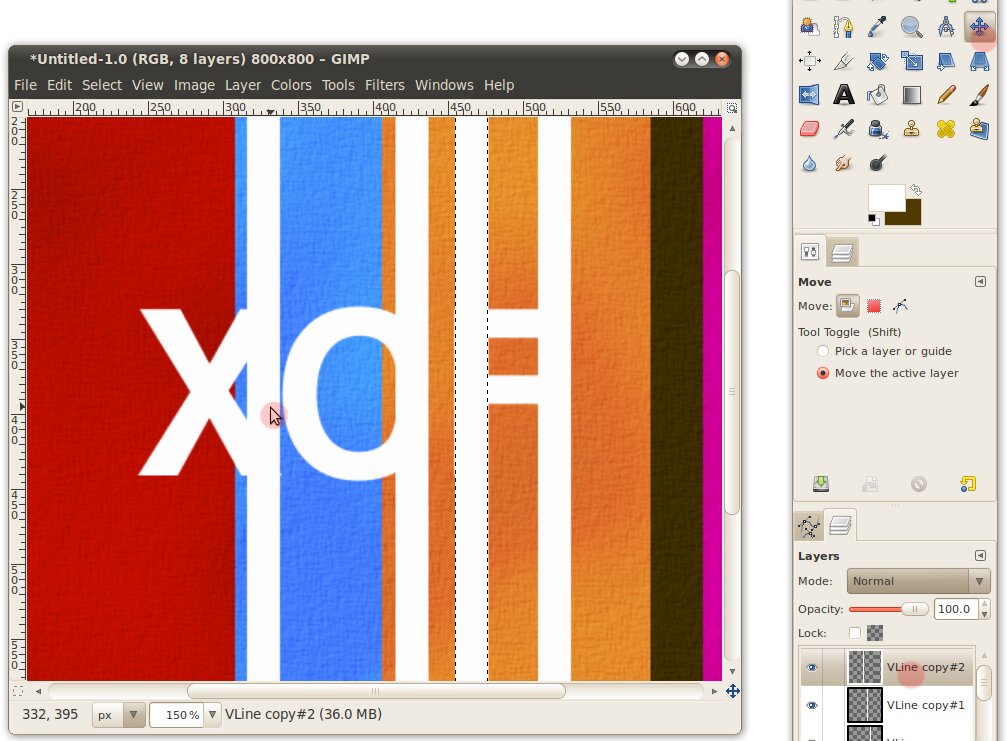
This is how it should look in the middle of the progress :)
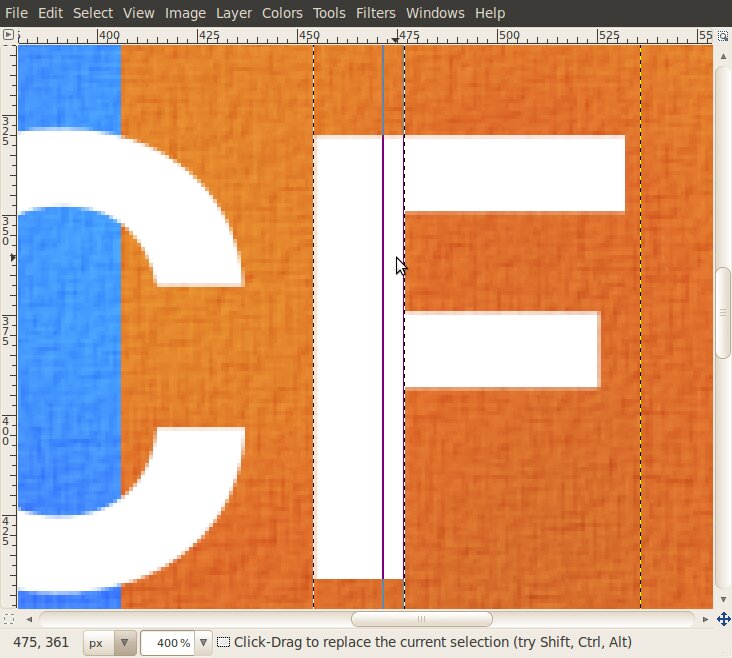
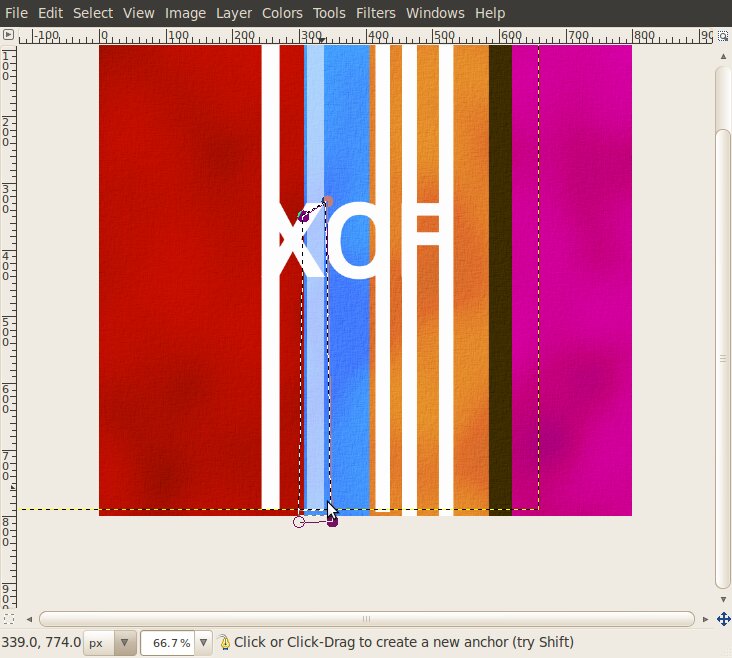
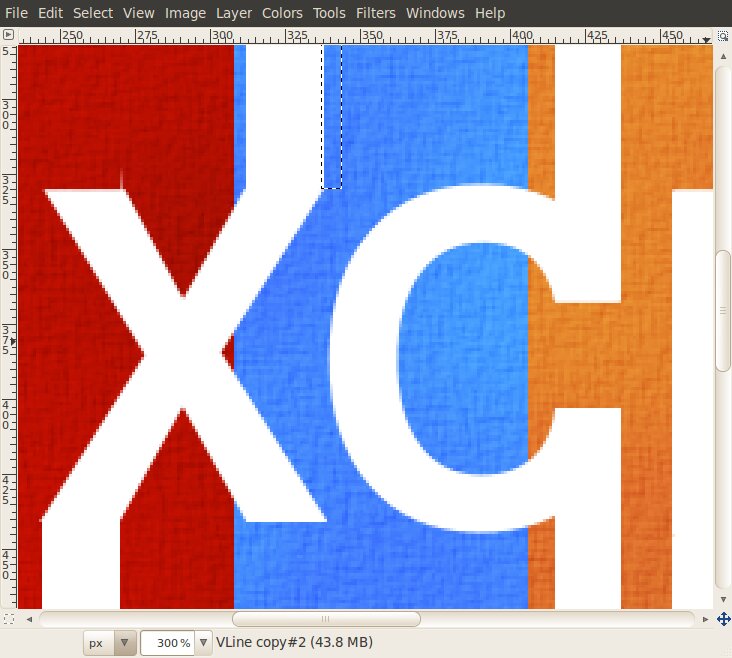
Press Ctrl and roll the mouse wheel to zoom-in/zoom-out, or use plus and minus buttons on your keyboard. Using the Paths Tool (B) (press Enter to make the selection and Delete to erase), delete the unneeded. Don't forget to select the appropriate layers.

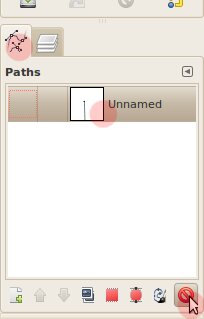
To remove the used Path from the screen, click on the Open the paths dialog, click the path, and Delete path. Or, alternatively, press R and then B.

You can fine-tune the strips...
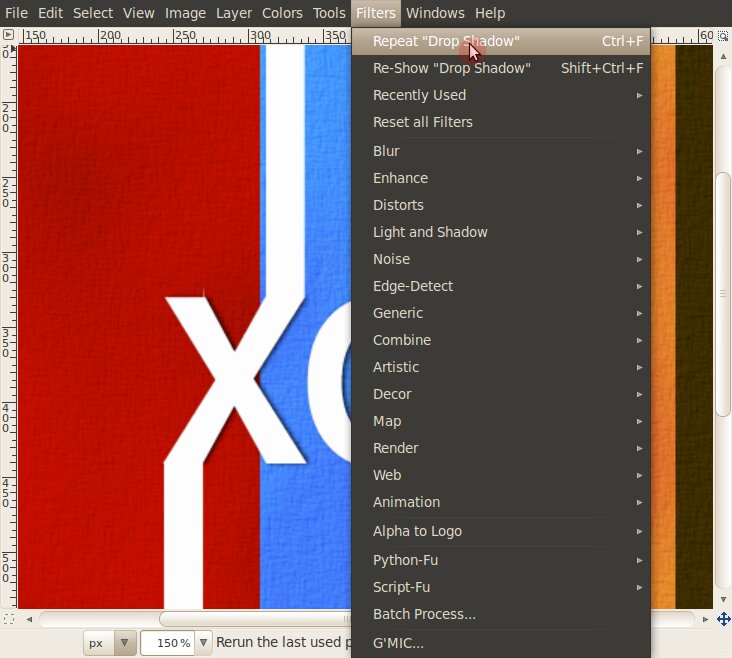
Go to Filters > Repeat "Drop Shadow" for every white strip layer.

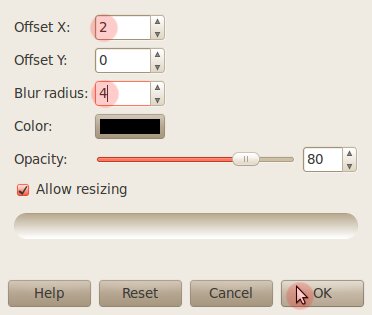
Using Filters > Drop Shadow..., set the parameters as below and press OK. The text gets the shadows. Note that the text appear below the strips.
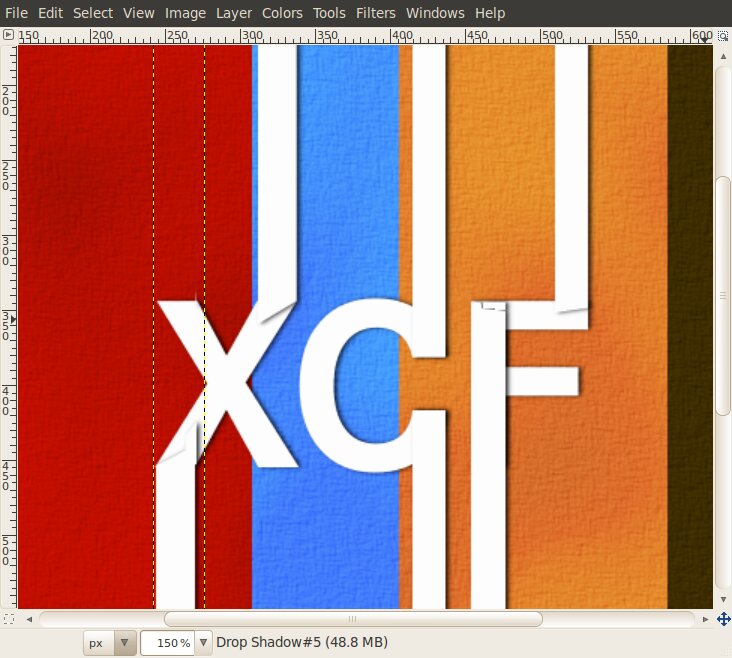
Move the text layer and it's shadows to just above the all the strips layers.
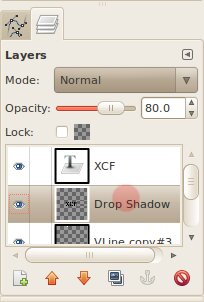
With the Eraser Tool (Shift+E) delete the appropriate shadows that break the continuation effect.
Let's create the yellowish clouds effect above the text. Duplicate the clouds layer and drag-n-drop the new layer just above the text layer.
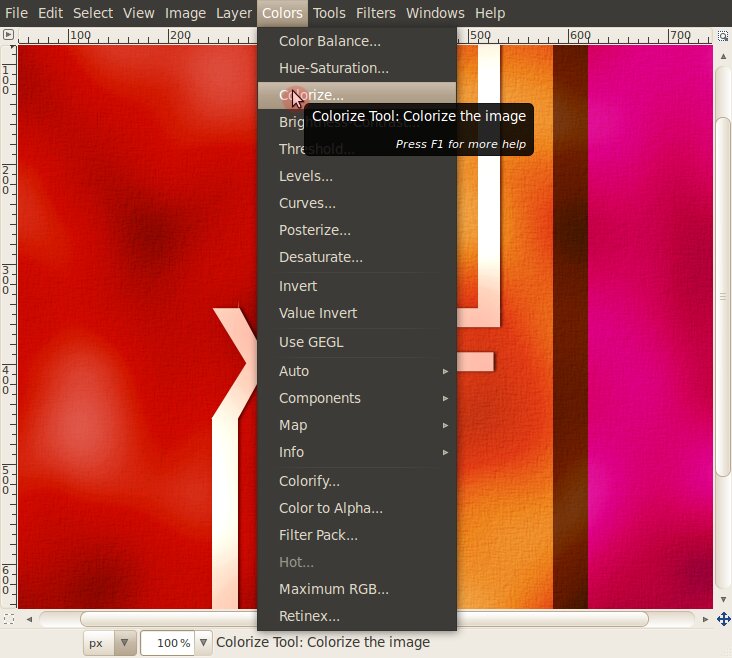
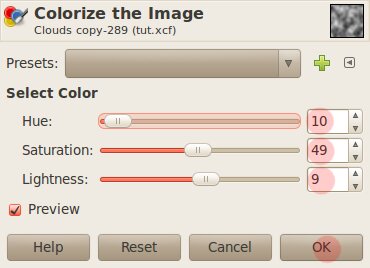
Then from the menu, choose Colors > Colorize.... Set the settings in the image.
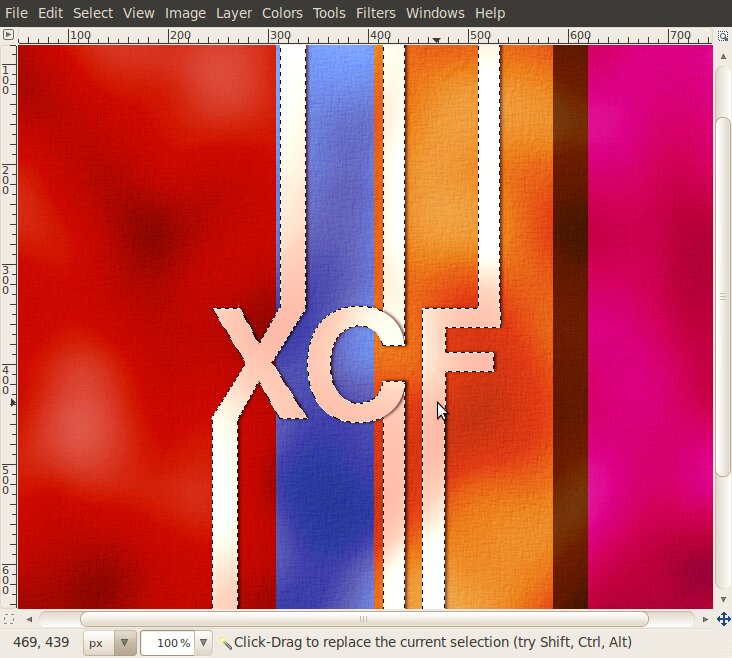
Click on Fuzzy Select Tool, or press U. Select the text layer, and Shift-click on each letter. This selects the text. Select every layer with a white strip, and Shift-click the white strip. You should see the selection of all the white foreground.
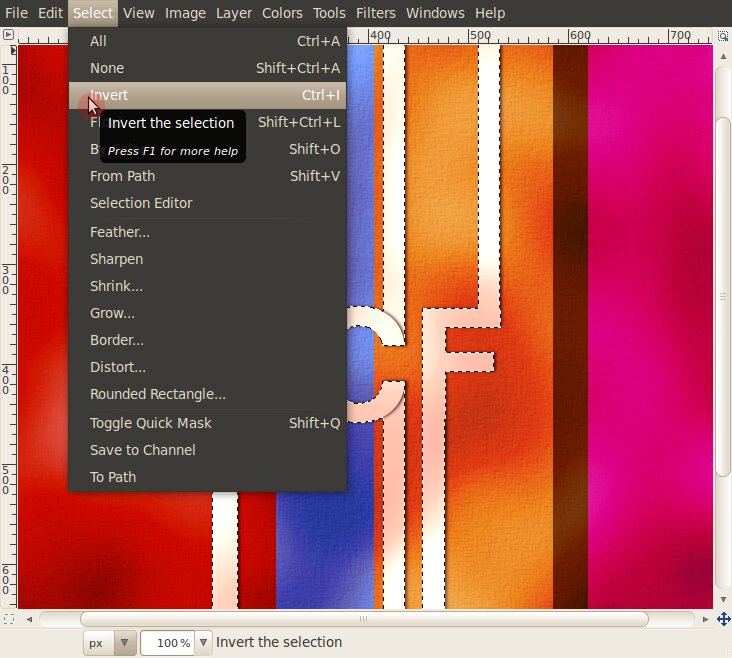
Next, from the menu, choose Select > Invert.... Now press Delete. We are left with the clouds over the text only.
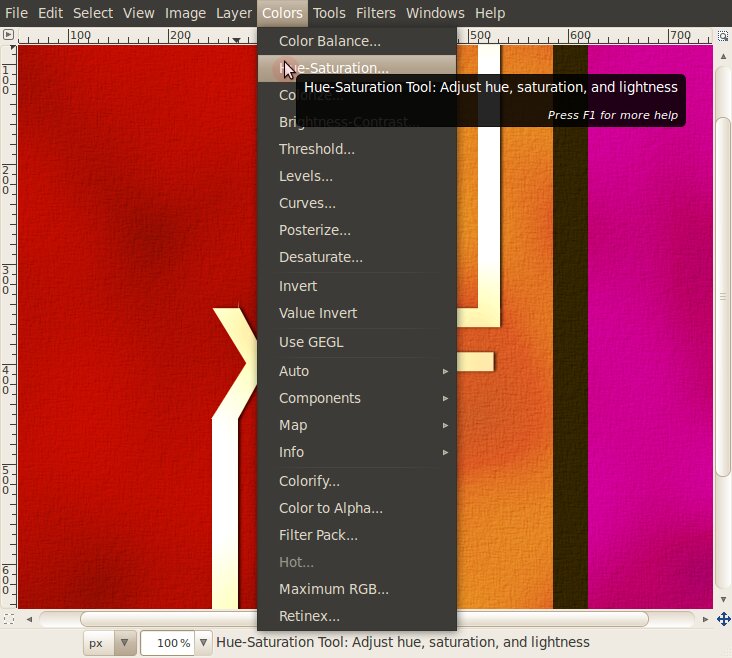
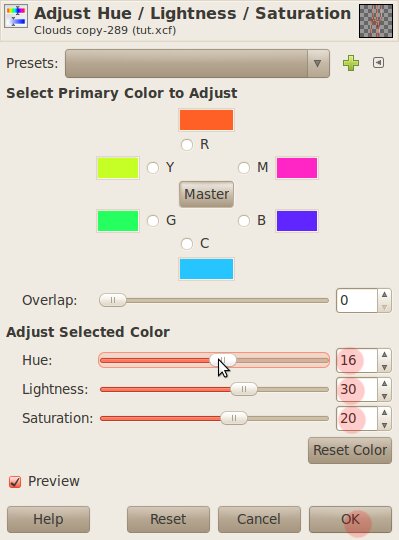
In the Colors > Hue-Saturation... you may want to change the color to something similar in the picture.
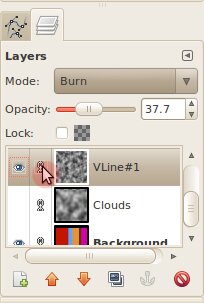
To add more burning spots, I added another layer, and rendered more clouds in it but set the parameters to X size = 8 and Y size = 8. Mode was again set to Burn, and opacity to around 40.

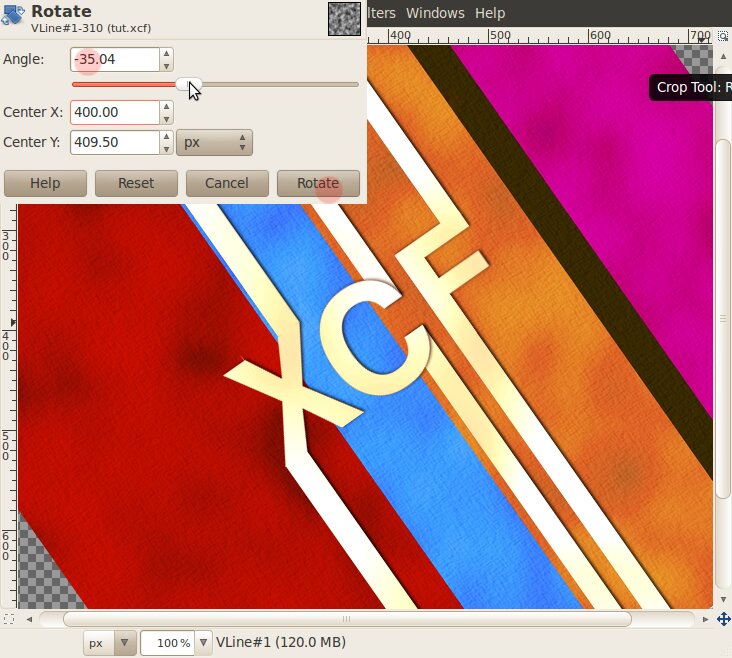
From here the rest is easy. Just Shift-left click twice on the link sign near any layer, this should link all the layers together, so you can rotate them simultaneously. Press the Rotate Tool, and rotate manually by clicking and dragging the image, or set the desired angle in the parameters box. Then crop it using the Crop tool (Shift+C) and you're done. Sure to do something like my final result, just use the Path Tool to fill in the color only between the regions separated by white stripes. In addition, you can download a texture from here and apply it with Mode/Opacity as you please.